Rainbow Butter Cookies
From thegoldminer 17 years ago
- 12 minutes to make
- Serves 24
This recipe was posted by minitindel. They were colorful and tasty as she said and made a treat for the cookie plate.If you don't read all the directions at least read the last paragraph :-) Give her kudos for posting the original recipe. Read more Click on any pic to enlarge. See less
Ingredients
- • 1/2- cup plus 2 tablespoons butter softened shopping list
- • 1/2- cup packed brown sugar shopping list
- • 1/4- cup sugar shopping list
- • 1 - egg shopping list
- • 1- teaspoon vanilla extract shopping list
- • 2- cups all-purpose flour shopping list
- • 1/2- teaspoon each baking powder and salt shopping list
- • 1/8 - teaspoon baking soda shopping list
- • Red, yellow, green food coloring - about 15 drops of each color shopping list
- • milk shopping list
- • chopped pecans shopping list
- • peppermint flavoring shopping list
How to make it
- 1. In a large bowl , cream butter and sugars until light and fluffy
- 2. Add egg and vanilla mix well
- 3. Combine the flour, baking powder, salt and baking soda in a separate bowl
- 4. Gradually add to creamed mixture and mix well.
- 5. Divide dough into 3 portions (they should weigh 7 ounces each)
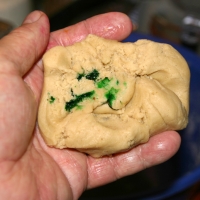
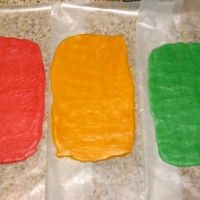
- 6. Tint each portion a different color. Flatten the ball and make a pocket to hold the coloring. It wants to run out of the dough so work it in carefully. Makes pretty hands.
- 7. Chill all balls of dough.
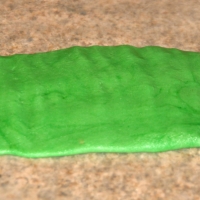
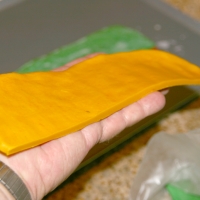
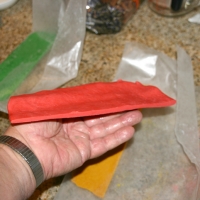
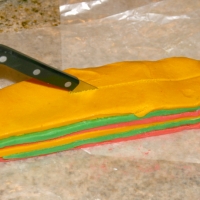
- 8. Carefully roll each portion of the dough on waxed paper into a 9 inch x 5 inch rectangle pan........ freeze for 10 minutes. The dough wanted to stick to my rolling pin (wine bottle) so I made the ball into a log and then gave it karate chops to flatten, then used my palms to get it an even flat layer. I think I could have lightly floured the flatten log a little and then used more milk to remove the flour once flattened. I will try this next time. The original recipe didn’t mention to chill first so that was probably the sticking problem. I was following the recipe.
- 9. Cut each rectangle in half lengthwise (see pic)
- 10. Lightly brush top of each rectangle with milk except the sixth layer
- 11. Top with another colored dough layer and slightly press the layers together.
- 12. Keep removing layers from waxed paper, brush top with milk and press each layer slightly to bind to each other.
- 13. Use remaining dough, alternating the colors to make 6 layers.
- 14. Keep pressing layers together lightly
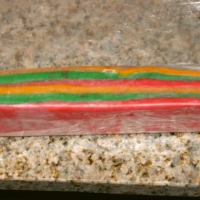
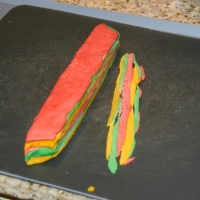
- 15. Once all six 9 by 2 1/2 layers are done, cut again in half lengthwise, now they are 9 x 1 ¼ inches. See pic
- 16. Wrap each with plastic wrap and refrigerate for several hours or even overnight. I waited about an hour and they were cold enough to cut.
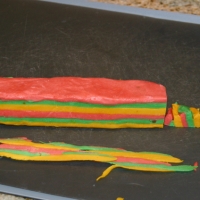
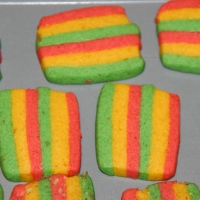
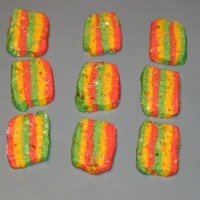
- 17. Unwrap dough cut into 1/8 inch slices....... see pics
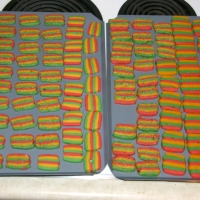
- 18. Place them about 1/4 inches apart on cookie sheets. I sprayed each sheet with canola spray, very lightly, smeared it around the sheet with finger tips to make a very fine layer, easier to remove from the cookie sheet. The dough barely spreads so this spacing is fine
- 19. Bake for 10 to 12 minutes at 350 degrees f.
- 20. Cool for 2-5 minutes before removing them from the pans to wire racks to cool completely.......
- 21. Yields 4 dozen cookies.
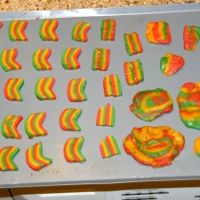
- 22. They were fun to make for Christmas cookies, just for the rainbow look and colors.
- 23. I added the pecans and peppermint just for the fun of it and they were well received.
- 24. I curved some of the cut pieces to resemble rainbows, I mean they are called Rainbow cookies!!!!!!!!!
- 25. Funny story on the cookies. I had red on the mind, and as I put reddish drops on the dough and mixed it in, it wouldn’t get red! So from 10 drops I got to 50!!!!! Still not red, what the _ell. I turned around and looked and there, there on the counter laid a yellow cap!!!!!!!!!!!! In the small amount of gray matter in the shell on my shoulders, I was making red first and the yellow drops were reddish in color, but I can tell you, all the yellow in the world won’t make RED. Next was green, then the real red. I used a lot of potty mouth words that I called myself -:)
 Mixing
Close
Mixing
Close
 Mixed butter & sugar
Close
Mixed butter & sugar
Close
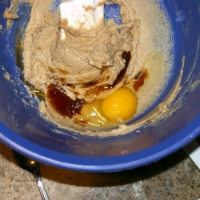 Egg, vanilla, soda etc.
Close
Egg, vanilla, soda etc.
Close
 Flour
Close
Flour
Close
 Mixing
Close
Mixing
Close
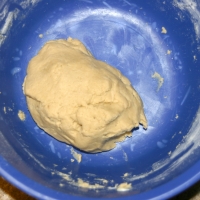 Mixed
Close
Mixed
Close
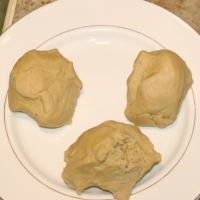 Divided
Close
Divided
Close
 Food coloring
Close
Food coloring
Close
 Cute hand color
Close
Cute hand color
Close
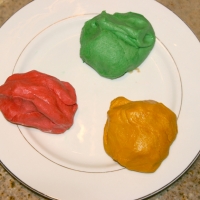 Colored and ready
Close
Colored and ready
Close
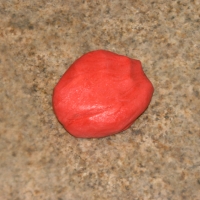 Ready to flatten
Close
Ready to flatten
Close
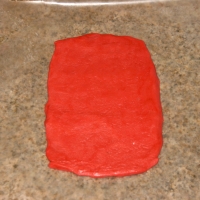 9 x 5 inches
Close
9 x 5 inches
Close
 Make a log
Close
Make a log
Close
 Karate chops
Close
Karate chops
Close
 Ready to chill
Close
Ready to chill
Close
 On wax paper to chill
Close
On wax paper to chill
Close
 First cut
Close
First cut
Close
 A layer
Close
A layer
Close
 Or two
Close
Or two
Close
 Brush on milk coating
Close
Brush on milk coating
Close
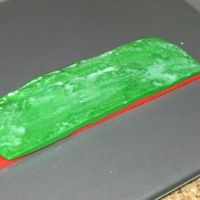 Layering
Close
Layering
Close
 Layered
Close
Layered
Close
 Second cut
Close
Second cut
Close
 Half wrapped
Close
Half wrapped
Close
 Both wrapped
Close
Both wrapped
Close
 Trimming
Close
Trimming
Close
 More trimming
Close
More trimming
Close
 Start cutting cookies
Close
Start cutting cookies
Close
 Cute pieces
Close
Cute pieces
Close
 Regular
Close
Regular
Close
 Pecans & peppermint
Close
Pecans & peppermint
Close
 Compare both styles
Close
Compare both styles
Close
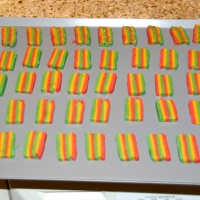 Spacing too far apart
Close
Spacing too far apart
Close
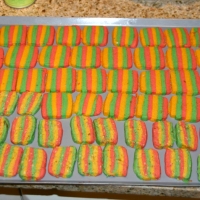 Closer spacing
Close
Closer spacing
Close
 Nice
Close
Nice
Close
 A batch
Close
A batch
Close
 Real rainbows-FINAL!!!
Close
Real rainbows-FINAL!!!
Close

The Rating
Reviewed by 8 people-
Great cookies Tink and JJ awsome picyures ya all need to work as a team . or become Chefs . My grandkids will love these thanks
 momo_55grandma
in Mountianview loved it
momo_55grandma
in Mountianview loved it
-
these are beautiful JJ! Kudos to tink too!
 jett2whit
in Union City loved it
jett2whit
in Union City loved it
-
jj very nice photos as always... nice step by step directions... thank you to tink for recipe and you for the follow up... ^5
 peetabear
in mid-hudson valley loved it
peetabear
in mid-hudson valley loved it


Reviews & Comments 6
-
All Comments
-
Your Comments
" It was excellent "
" It was excellent "
" It was excellent "
" It was excellent "